In today's digital landscape, making your web content stand out on social media is crucial for reaching a wider audience. One essential element for achieving this is the Open Graph (OG) image tag. In this blog post, we'll explore the significance of the OG:image tag, how to generate dynamic OG images for your Astro website, and why they are pivotal for optimizing your content's social media presence.
The power of OG:image
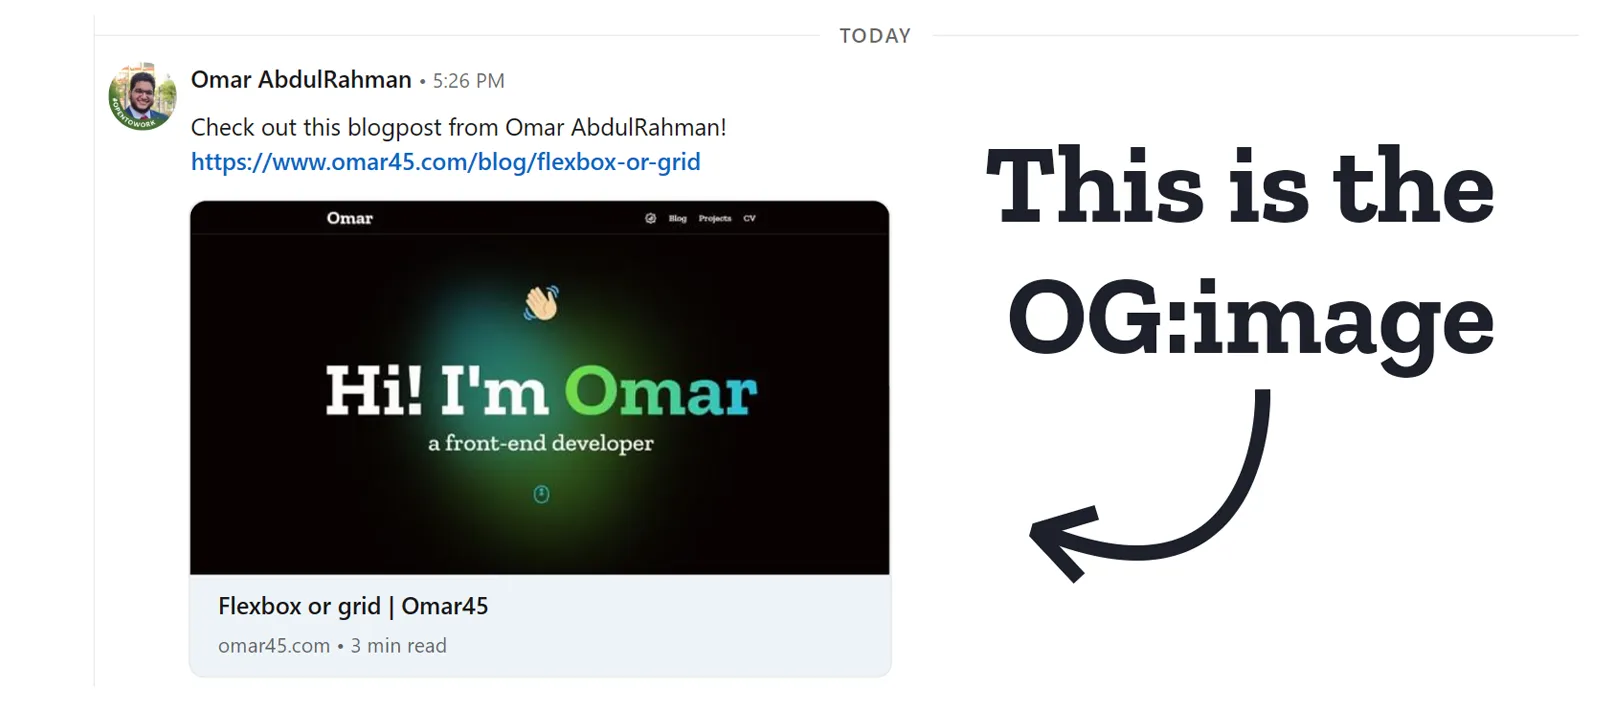
The OG:image tag is the secret ingredient that can transform your shared content from bland to captivating. It represents the image associated with your webpage when shared on platforms like Facebook, Twitter, or LinkedIn. A compelling OG image can significantly impact whether users engage with your content or scroll past it.
Dynamic OG images for your Astro website
Generating OG:image tags dynamically is a game-changer for efficiency and consistency. With dynamic OG images, you can save valuable time and effort that would otherwise be spent creating a new image for every blog post or content update.
This approach ensures that your shared content always looks professional and maintains a consistent brand identity, even as you continuously add new blog posts or projects to your Astro website.
Step 1: Install astro-og-canvas
The journey to dynamic OG images begins with a single command. Open your terminal and run:
npm install astro-og-canvasThis command installs the astro-og-canvas library, which will empower us to create custom OG images for each of our web pages.
Step 2: Create an "og" route
In your project's "pages" directory, it's time to carve out a special place for your OG images. Create a new folder named "og" and inside it, add a [...route].ts file. This file will be the canvas where your dynamic OG images come to life.
Step 3: Collect your content
To generate OG images dynamically, we first need to gather the content we want to represent visually. Let's say we have a collection of blog posts. We can obtain all the paths to these posts using the getCollection function from the astro:content library:
import { getCollection } from "astro:content";

// Assuming you have a collection named "blog"
const blogs = await getCollection("blog");

// Transform the collection into an object
const pages = Object.fromEntries(
  blogs.map(({ id, slug, data }) => [id, { data, slug }]),
);
Now, you have an object called pages where each key represents a blog post's unique identifier, and the corresponding value contains the necessary data and slug.
Step 4: Designing the image
import { OGImageRoute } from "astro-og-canvas";

export const { getStaticPaths, GET } = OGImageRoute({
  // The name of your dynamic route segment.
  // In this case it’s `route`, because the file is named `[...route].ts`.
  param: "route",

  // A collection of pages to generate images for.
  pages,

  // For each page, this callback will be used to customize the OG image.
  getImageOptions: async (_, { data, slug }: (typeof pages)[string]) => {
    return {
      title: data.title,
      description: data.description,
      dir: data.isArabic ? "rtl" : "ltr",
      border: { color: [114, 221, 64], width: 20, side: "inline-start" },
      bgGradient: [
        [6, 38, 45],
        [8, 3, 2],
      ],
      logo: {
        path: "./src/logo.png",
        size: [500],
      },
    };
  },
});
As we can see, we can access the data for each page from the data object. In this example, we're using the title, description, and isArabic fields to customize the OG image.
For a full list of available options, check out the astro-og-canvas documentation.
Step 5: Add the OG image tag
Now, unique images will be generated for each blog post at the path omar45.com/og/${slug}.png. The final step is to add the OG image tag to each blog post's metadata.
In my case, I have a <Layout> component that wraps all my pages. I can add the OG image tag to this component as a prop:
---
const { post } = Astro.props;
const { Content } = await post.render();
const imgLink = `${Astro.site.origin}/og/${post.slug}.png`;
// Generates: https://omar45.com/og/flexbox-or-grid.png
---
<Layout
title={`${post.data.title} | Omar45`}
description={post.data.description}
imgLink={imgLink}
>
<Content />
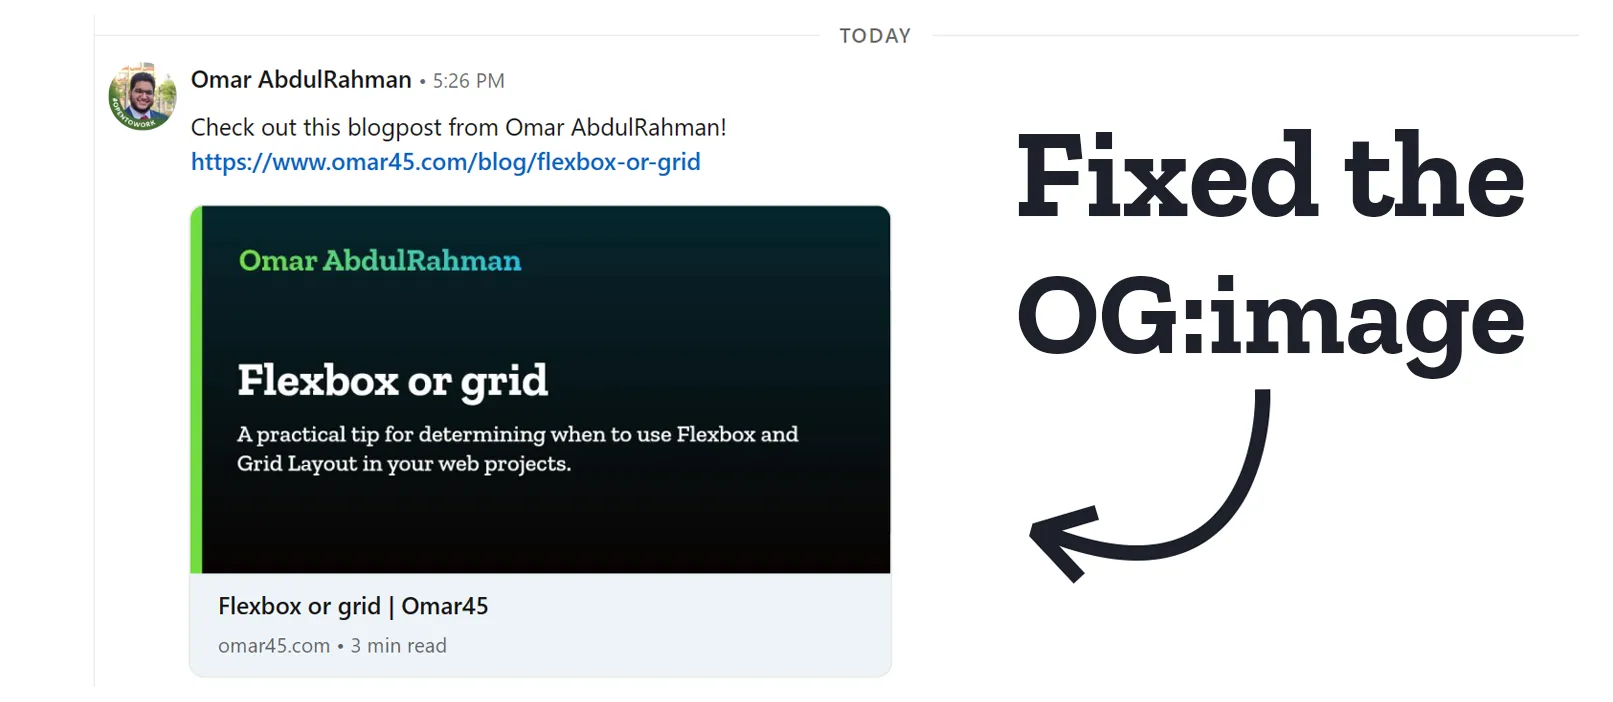
</Layout>Now, when I share my blog post on social media, the new dynamically generated OG image will be displayed:
Now that you have the tools and knowledge, go ahead and take your web presence to the next level with stunning OG images. Stay tuned for more tips and tricks to enhance your web development journey!